Saturday, December 17, 2011

Christmas Around the House

Hi there. I'm so glad you stopped by!

Today I want to share some Christmas decorating I did around the house.

First stop, the entryway. Notice my little helper, Isabelle, at the top of the stairs. She follows me everywhere.  I only wish she could talk so I could bounce ideas off her and get her opinion. I'm pretty sure she has an opinion!


From the top of the stairs looking in to the entryway. I took a plain pine looking garland and wrapped it around the railing, then added lights.


I love decorating the railing.  It's the first thing people see when they come in.  Just add things here and there, until you get the fullness that you like. I usually buy things in bunches and then just cut them apart and add them in.


Here's my little dresser I have at the top of the stairs. The lamp and basket filled with pinecones, were already there.  I added the snowman, bulbs and poinsettias.  Buying the poinsettias in a bunch is a really cheap way to get a lot of decorating material, for a little price.


At the other side of the stairway I have this floral arrangement.  Again, just added things to it to get the Christmas feel.  Easy peasy.


This is a little table I have in my entryway.  I L.O.V.E. lamps!  I have them everywhere.  There is nothing better than low lighting to make a house homey.

I added some beads to the shade, a few items to the table, and done!


Here's a little tray I have on our island.  Notice the lamp theme.


Corner area on the kitchen counter.  Yep, another lamp.  Maybe I have a problem......


Shelf above the kitchen sink.  No lamp?  How did that sneak past me?  Next year!


This is the top of my refrigerator.  I know I am probably really strange, but I have to decorate the top of my refrigerator.  It's like a shelf calling out my name to be decorated.


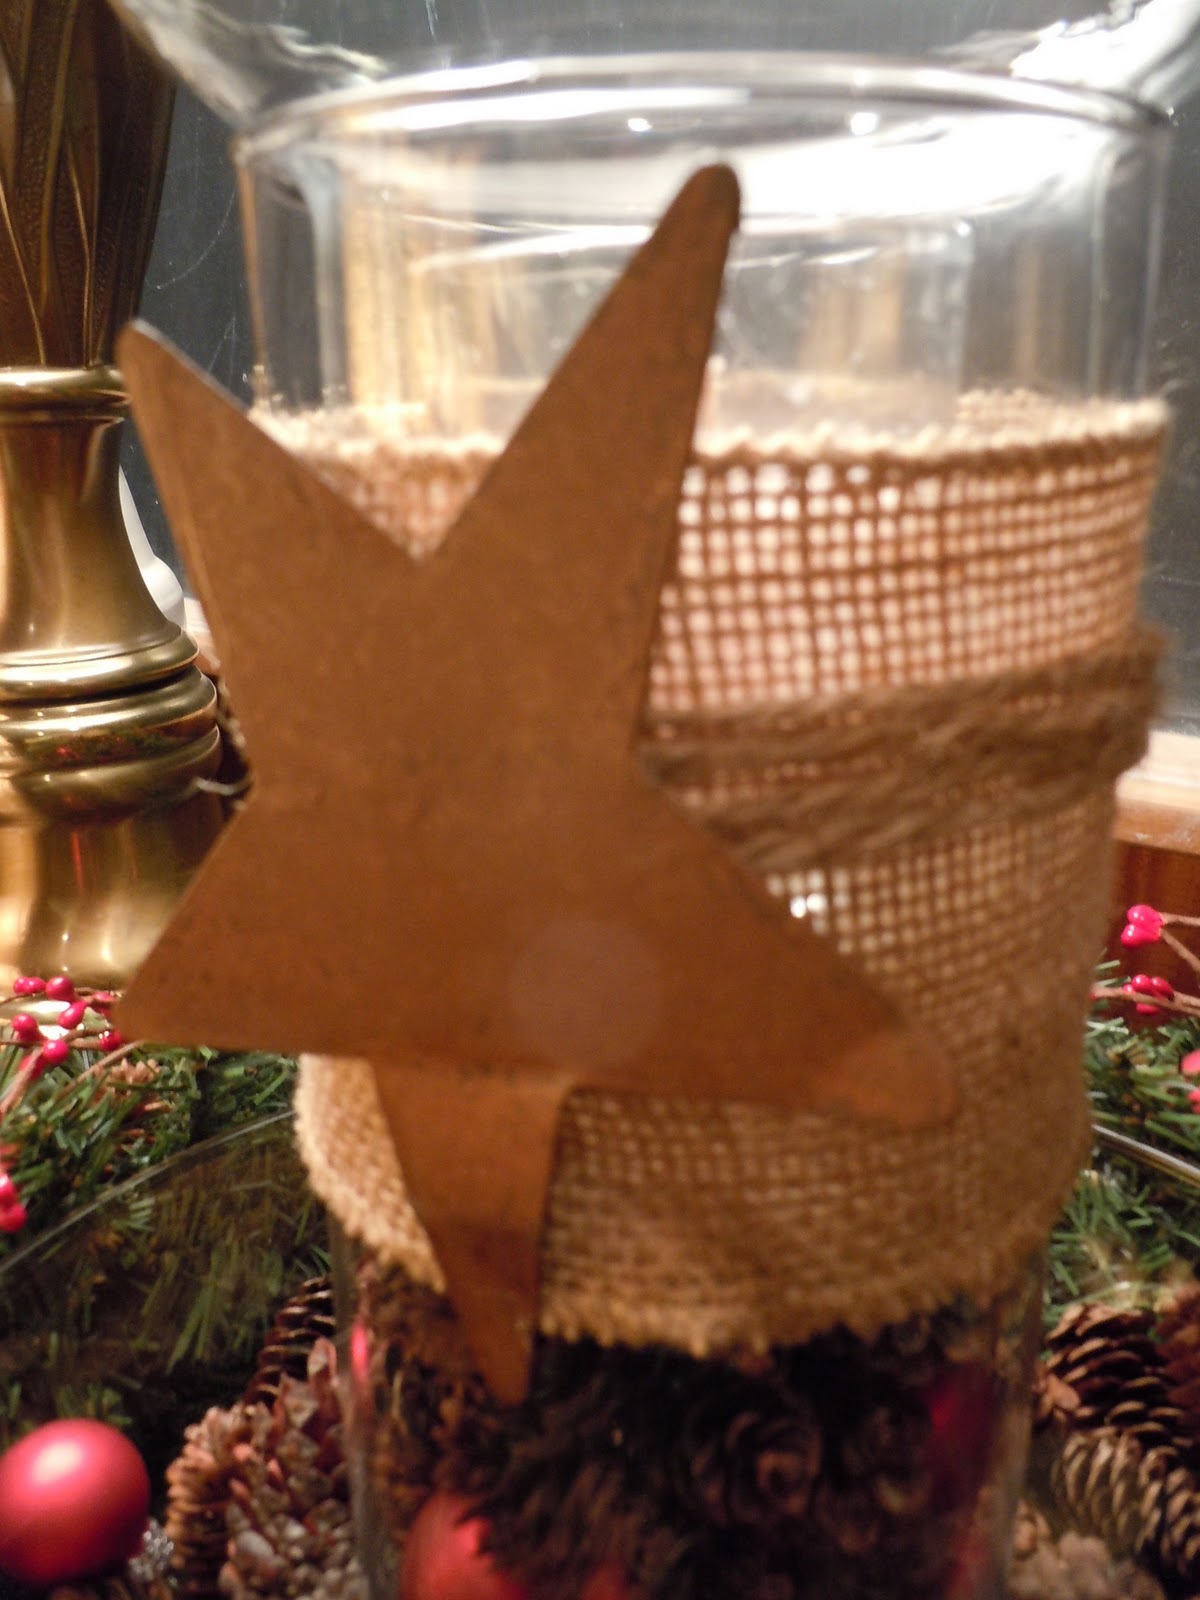
The desk in my kitchen.  Did you see the little star "lamp".  OK, seriously, I think I have a lamp addiction.


Our Christmas tree.


And lastly, our fireplace.


Thank you so much for stopping by.  I hope you liked my little tour.

Merry Christmas!

Kelly

Sunday, December 11, 2011

Christmas Front Porch

Hi there!  I'm so glad you stopped by.

I'm finally done!  All my Christmas decorations are up.  Now, I can enjoy the rest of the Christmas season.  Today I want to share my front porch.

Let me start by saying, my front porch was the last thing I had to decorate.  Frankly I was tired and was running out of decorations to use.  So, I dug around and came up with this.


I started with these 2 little pine trees that I've had forever.  I wanted to do it a little different this year. So, I decided on silver, burlap and pinecones.

I started by stringing white lights around each of them.  I used a 50 count.


I wrapped some burlap ribbon around them for added depth. 

Next I added some silver bulbs that I got at Marshalls.  They were on a a swag.  There were about 50 bulbs on there and I got it for $15.00.  I cut all the bulbs off the swag, saving enough of the wire from each bulb, to wrap around the pine branch.

I added some silver bells I had by looping a piece of twine through each one and tying a little bow on the branch.  How easy is that!


Next, I added an old chair I have. I simply grabbed an old silver kettle I have and filled it with pinecones, adding a few of the silver bulbs.  I tied this fabulous burlap ribbon around the kettle, set a little bird I also found at Marshalls, next to the kettle and waa laa!


Around the front door I added 2 pine swags.  Again, adding some of the silver bulbs and burlap ribbon.


To my simple twig wreath I added some pine, a ribbon and a silver bulb.


To hide the black metal plate at the bottom of the trees, I took an old burlap bag we had, cut it in to 2 pieces, wrapped it around the bottom and tied it with some twine.


That's it.  Simple and very inexpensive.  I had everything on hand except the bulbs and the little bird on the chair.  I LOVE simple and inexpensive.


So, that's it.  My Christmas front porch.  I hope you like it and it inspires you to dig around your house and garage and find a new use for your old things.

Thank you so much for stopping by.  It means the world to me.

Kelly

Thursday, December 1, 2011

Christmas Mantel

Hi there.  I'm so glad you stopped by!

I don't know about you, but it takes me at least a week to get my Christmas decorating done.  Every year I try doing something different.  I've never been one to decorate the same way twice.  I like to see what I can come up with. A challenge perhaps?

Tonight, I finished my fireplace mantel and I wanted to share it with you. I hope it inspires you to try something a little different too.


It started with that little wooden box in the middle.  My husband made that out of barn wood he got in Montana.  I was going to fill it and put it on my counter in the kitchen. I started filling it with pine branches and the next thing I knew, it was too big to go where I was planning on putting it. That happens to me a lot!
Plan B!


So, I brought it to the living room and decided to decorate around it.  I think I may have the biggest fireplace mantel on the planet, so this has always been a challenge to decorate.

I went out to our garage and brought in these 3 windows.  I work for a remodelor and he took these out of a house last summer.  Yes, I'm a dumpster diver!  I knew I would use them somewhere. I just couldn't let them go to the dump.

I tucked a string of lights behind them.  I wanted the light to shine up behind the windows.


I took more of the pine branches and laid them in front of the windows and added pinecones, raffia, bulbs and some floral/jewel sticks I had.


I added a little twine to some votive candles. I wanted to have light in front of the windows too.


I took 2 of the pine branches and added a few berries and a burlap bow.  The branches are wired so I bent the wire over and it worked perfect for hanging it on the window.  I've had these branches for years and never thought of doing that. I was pretty excited about that little trick!


So, here it is. My Christmas mantel.  I have to tell you, I can't wait to sit by the fireplace and watch a movie this weekend. 

What do you think?


Thank you so much for stopping by.  It means the world to me.

Kelly

Thursday, November 24, 2011

Happy Thanksgiving!

Happy Thanksgiving to you all! 


 Wishing you all a blessed day, with the ones you love.


Kelly

Sunday, November 20, 2011

Snowflake Candle

Hi there!  I'm so glad you stopped by

Here's a little something I was working on today.  A snowflake candle.  Below I will show you how I did it.


First you will need a glass candle holder.  You can get these just about anywhere.  I found mine at the Dollar Store.  You will also need Mod Podge, a sponge brush, some little jewels, some Epsom Salt, a white paint pen and a votive candle. 


First, I took the glass candle holder and painted snowflakes on it with a paint pen.  I then added little jewels to the middle of the snowflakes using my trusty glue gun.


Second, I took the votive candle and painted it with Mod Podge, using the sponge brush.  Then, I rolled it in Epsom Salt.  If you have never used Epsom Salt before, it is the perfect fake snow!


Add Epsom Salt to the bottom of your glass candle holder, set your votive in the "snow" and, Viola, you have a snowflake candle.  These would work great on the fireplace mantle, in your centerpiece or on your walk leading up to your house on Christmas Eve!


Thank you so much for stopping by.  It means the world to me.

Kelly

Monday, November 14, 2011

The Wooden Box

Hi There. I'm so glad you stopped by!

Today I want to share a little project my amazing husband and I put together this week.

If you saw the post I did a while back, The Fall Housewarming Gift, you might remember I used a box that looked like this one.

I found it at a little shop up by Lake of the Woods, last summer.


I was really torn about giving my newest love away, a simple little wooden box, as part of the gift.  I know you are all thinking, seriously it's just a wooden box.

I decided that I could ask my husband to help me re-create that little treasure.  He was actually really excited (if you know my husband, you know not much excites him), and ready to help me out. He's pretty creative himself.  Noted for future projects!

I made a pattern and gave it to him.  We went shopping for the materials one night and by the time I got home from work the next day, he had one made for me.  Could you hear the excitement all the way from Ham Lake?? I'm pretty sure my neighbors are still wondering about that one.


I wanted it to have a rustic feel.  I had never stained and painted the same project and wasn't sure if it was going to work.  But I thought, what the hay, I will just have that amazing husband of mine, make me another one if I wreck it.

So I nervously stenciled the box first.


My newest love, stenciling. Yep, L.O.V.E. it!


Then I stained it.....holding my breath the whole time.  Not wanting to look, just in case I ruined it.  Have you ever tried to stain and not look at what you're doing?


I was so excited that it worked.  It actually made the paint finish look really good.  Then I took the ole' sander out and roughed it up a bit.

Keep in mind, I am not a photographer.  This picture doesn't really do it justice, so I'm hoping you can get the feel.

I'm pretty excited about all the things I can use these for.  In the bathroom, with jars holding Q-tips, cotton balls, and soap.  On the buffet table, holding knives, forks and spoons.  Just use your imagination.  I know I will.


By the way, I will be putting these in "Finch's Holiday Boutique" the first weekend in December if you want one, wink wink!

Next little wooden project, a recipe box.  Thanks Tiffany, for the idea!


Thank you so much for stopping by.  It means so much to me.

Kelly

Tuesday, November 8, 2011

Christmas Centerpiece

Hi there! I am so glad you stopped by.

I am so excited and honored to part of "Finch's Holiday Boutique", the first week in December. I have never done this before and honestly am a lot little scared.

If you are looking for great gifts or decorating items, this is the place you will want to go.It is being hosted by my amazingly talented cousin, Elisa.  Many of you already know of her through my bragging about what a talented little lady she is. I am very proud of her!

If you are interested you can find information on facebook at "Finch's Holiday Boutique" or at Elisa's blog at finchsboutique.blogspot.com.


My Christmas Centerpiece.


I started this little project by going to Michael's and buying a small Christmas wreath. I am not adding a picture of the plain wreath because you all know what that looks like.  Here is what it looked like after I added some berries, pinecones, a few red bulbs and some stars.


I took a glass cylinder candle holder and added some burlap ribbon, twine and another one of those rusty stars (I'm in love with rusty old looking things). I filled the bottom with pinecones and red bulbs. The top has a glass insert where I placed a votive candle, also from Michael's.


I went to Walmart and picked up a glass bowl to put in the middle to add, you guessed it, more pinecones and red bulbs and the candle holder in the middle. 


And, Taa Daa!  A centerpiece for the Christmas Season. 

I would love to hear what you think of this. Do you like it?  Would you put it on your coffee table, kitchen table, vanity?


Thanks you so much for stopping by.  It means the world to me!

Kelly

Saturday, October 1, 2011

Fall Housewarming Gift

Hi there, I'm so glad you stopped by.

My husband and I are going to a housewarming party tonight. With it being Fall, I decided to create something with a fall theme, just for them.

This past summer when we were up at our cabin with our best friends, the ladies and I decided to check out a little antique shop a "few miles" down the road.  I know, women wanting to shop on a weekend away, unheard of, right?  Not.  My best girlfriends and I could find a place to shop anywhere. Case in point...Lake of the Woods with no shops for miles.  But we found one! Actually, we found 2!

I found this cute little wooden carrier and knew I could find something to use it for.


So I pulled out some mason jars and set out to create something just for it.


I am so in love with burlap this year.  To me, burlap just screams Fall. 

I laid the the jar on the table and wrapped the burlap around it, leaving about a 2" overhang.

I folded over the 2" and ironed a crease in it. 


Then I trimmed the rough edge of the burlap to make it straight.  Even though this was going to be under the overlap, I wanted it to be straight, since you can see through burlap.


I put a line of hot glue on the side of the mason jar and attached one edge of the burlap.

Have I told you lately how  much I love my glue gun?  Well, I love my glue gun! You can use that thing for everything. I'm pretty sure I could even mend clothes with that thing.....but that's a subject for another day.

After I attached it to the one side, I rolled the jar over, folded the creased end and attached it with hot glue.


Because I didn't like the way the top looked, I decided to make a top for the jar. 

I had some fabric from a project a few years ago that I thought would be the right look. I pulled out a Tupperware bowl, traced a circle on the fabric and cut it out with a pinking shear.

I put a line of glue around the top of the jar, set the jar upside down on the fabric and tied a piece of twine around it.


Next, I wanted to add a few buttons.  I put the twine through the button holes so it would look like I sewed it to the burlap.


Waa laa!  Jar number one is complete!


For the next jar, I simply added a piece of ribbon by gluing it to the jar, just like I did with the first one.  You could also overlap this one and add buttons, but I wanted this one to be different.


Then I added burlap ribbon that I bought from House by JSD Design. 

If you want some great fall inspiration, check out their sight. It is fabulous!  http://www.housebyjsd.com/. They are out of Lexington, Kentucky. If they were in Minnesota, I would be their number one customer.  But I digress....


Finally, I added a felt leaf with some brown ribbon, filled the jar with scented pine cones and jar number two was complete!


For the last jar, I used this great little bamboo that I found at a boutique in Hutchinson, for $2.00, for a roll of 3 feet! I seriously did the happy dance when I found this stuff.


I also put a row of burlap ribbon around this jar, added a felt leaf and dotted it with a little metal heart. In this one I put little pumpkin potpourri. I had put the pumpkins and one cupful of "Harvest" scented oil in a zip loc bag then left them overnight to absorb the oil. Y.u.m.m.y.


I added some moss to the bottom of the cute little wooden carrier, put the jars in and, taa daa, Housewarming Gift is ready to be delivered. 

I don't think I will even wrap this. I think it looks good to bring up to the door just like this!


Thank you so much for stopping by.  It means the world to me.

Kelly

Turkey and Veggie Egg Bake

Hi!  We're so glad you stopped by!  I apologize for the lack of recipe updates.  To be honest, I didn't think anyone would want ...